


I’ve definitely encountered that unpleasant plastic smell when using my air fryer for the first time. Actually, more than once as here at Toast ‘n Fry I’ve tested quite a few air fryer models already. The smell of plastic can really ruin your first cooking experience if you don’t know what to do. But don’t worry, I’ve got some effective tips to help you get rid of it rather easily.
If you’ve just gotten your new air fryer and it gives off a nasty plastic smell, you’ve come to the right place. Here is what you can do.
- Causes of Plastic Smell in Air Fryers
- Step 1: Removing Plastic Components and Cleaning
- Step 2: How To “Break-In” Your New Air Fryer
- When Is The Plastic Smell a Problem?
Check out also: High Protein Foods That Aren’t Meat – Take a Look!
Causes of Plastic Smell in Air Fryers
Why does your new air fryer smell like burning plastic? Well, it can be caused by two main factors. One factor is the use of heat-resistant plastic in the construction of the fryer. When exposed to high temperatures for the first time, this plastic can emit a distinct odor.
Now comes the second, more important reason. Various residual coatings from the manufacturing process can still reside on the internal components of an air fryer after it’s shipped to your home, especially when it comes to cheaper air fryer models. The heating element, the fan, the non-stick coating and sometimes also other parts of the air fryer fresh out of the factory can still be covered in stuff you don’t want to smell or get on your first batches of food. This, in most cases is the main cause of the unpleasant plastic smell.
This is why you should always “break-in” your air fryer before cooking your first dish in it. This process can ensure that the plasticky smell will be gone from the appliance.
Step 1: Removing Plastic Components and Cleaning
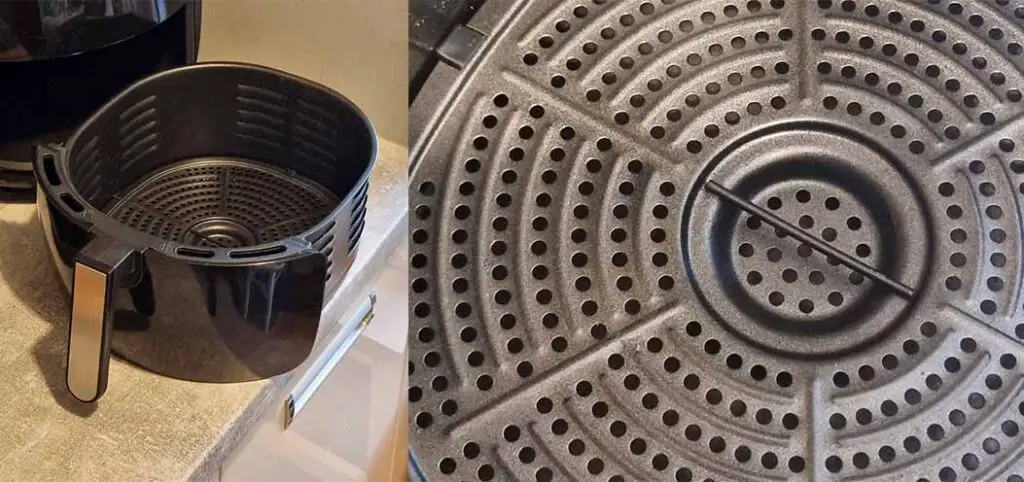
To eliminate the plastic smell in your air fryer, first things first it’s recommended to take out all the removable plastic and metal components (like the basket, food tray, etc.) before running the appliance for the first time, and give them a quick clean. Washing the accessories with simple dishwashing soap and a soft sponge will help remove any plastic oils and dirt that may still be present on these parts which after all came straight from the factory.
Be careful not to use the abrasive side of the scrubbing pad to prevent damage. After washing, make sure to dry the components thoroughly.
Don’t rest yet! There is a second part to this and it’s very important!
Step 2: How To “Break-In” Your New Air Fryer
All this however, will just get the residue off from the removable parts. The insides of the air fryer are still to be taken care of. Here is what to do next.
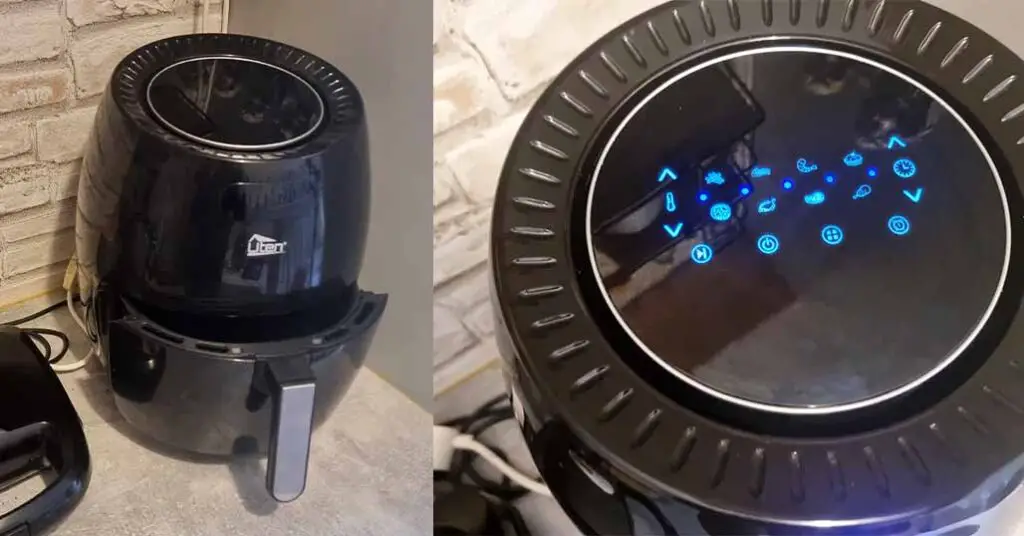
First, make sure that all of the removable parts you washed are fully dry. Now put them all back in place. To break-in your air fryer, set the temperature to the maximum value and let it run for one full cycle – which will most of the time be around 30 minutes (for instance on Uten air fryers). Warning: during this process, the air fryer will still give off the unpleasant plastic smell, so be sure to do this in a well ventilated room, possibly next to an open window.
If needed, let your air fryer cool down and then repeat this process a few times to completely release the fumes and eventually eliminate the odor. That’s about it when it comes to the “break in” process for most commercially available air fryers.
After the break-in process most if not all of the factory residue should be gone form your appliance and it should be safe to use.
In case of our last tested and reviewed air fryer, the plastic smell was gone after about 3 heating cycles.
When Is The Plastic Smell a Problem?
In short, after you break in your air fryer and get rid of the initial plastic smell, it shouldn’t ever come back. If it does come back after say a few cooked dishes and it was fully eliminated before, it might indicate an appliance malfunction.
Generally there are only two causes for plastic smell from an aged and heavily used air fryer. The first one is some plastic elements melting due to the operational heat – if this proves to be true after inspection, most of the time the air fryer needs to be replaced.
The second one is when you’ve placed your air fryer too close to a plastic container or another item made of plastic, and either the hot chassis or the hot air coming from the vents have caused the plastic to melt. This is a much more rare occurrence to be perfectly honest.
Remember to always place your air fryer in a short distance from walls and other items in your kitchen. Under any circumstances, do not cover up the heat exhaust vents. This can lead to damaging the appliance in a really short time!
So That’s It!
Many air fryers, especially cheaper ones can emit a plastic-like smell when turned on for the first time. This smell can prevail for a few heating cycles, so it’s important to break-in your air fryer before you put your first batch of food inside it.
Now that you know all this, you might wonder what are the first things you should cook in your brand new appliance once you’ve already set it up. Well, we have an article just for you. Take a look at this! – First 10 Things to Cook In Your New Air Fryer! Would You Guess?